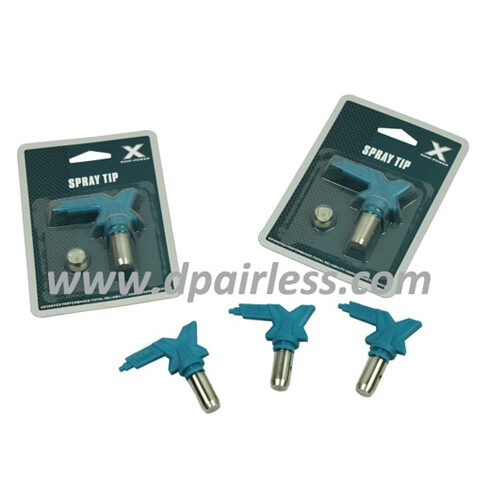
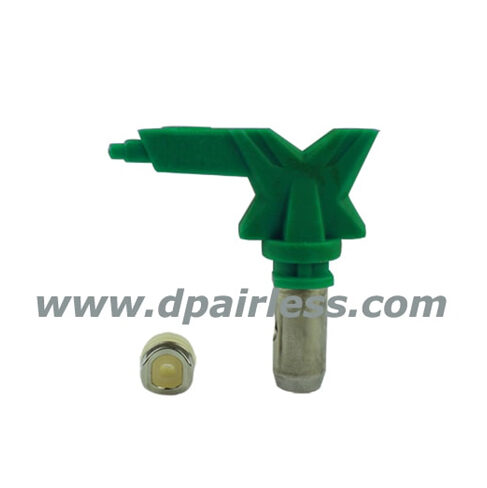
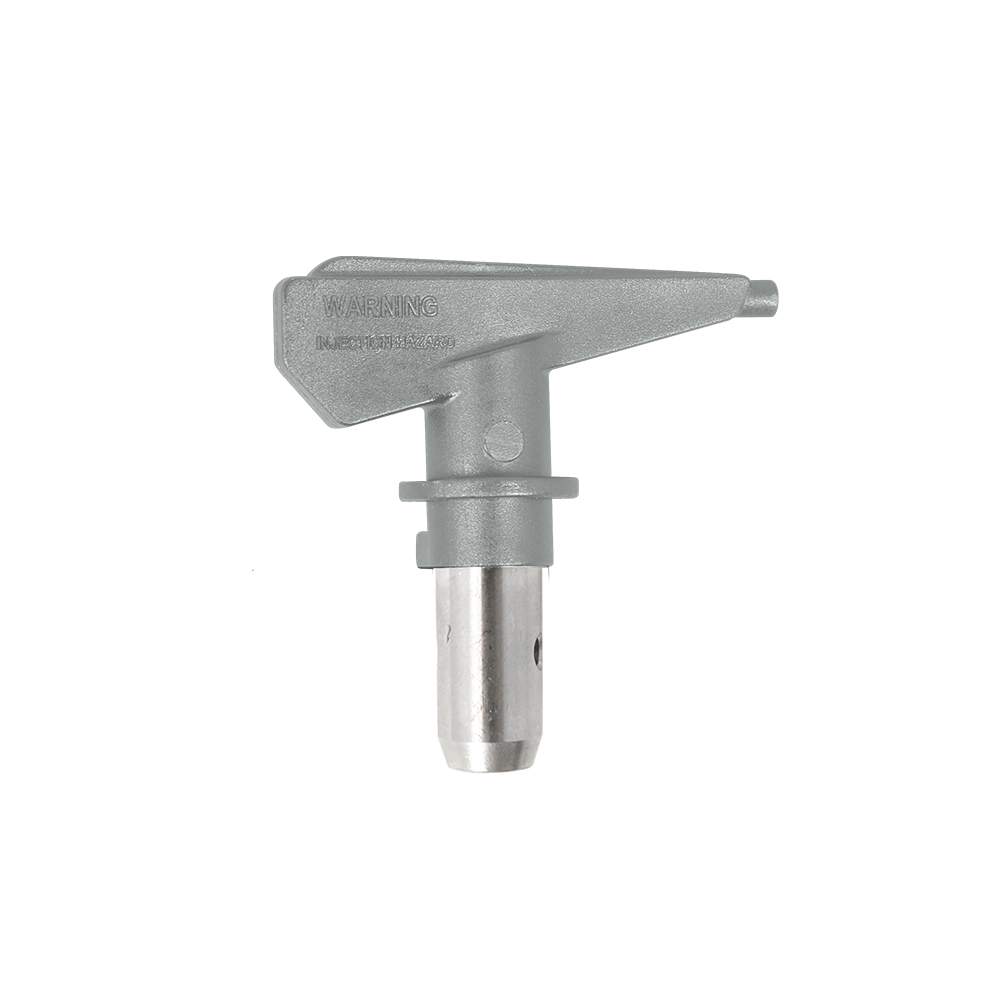
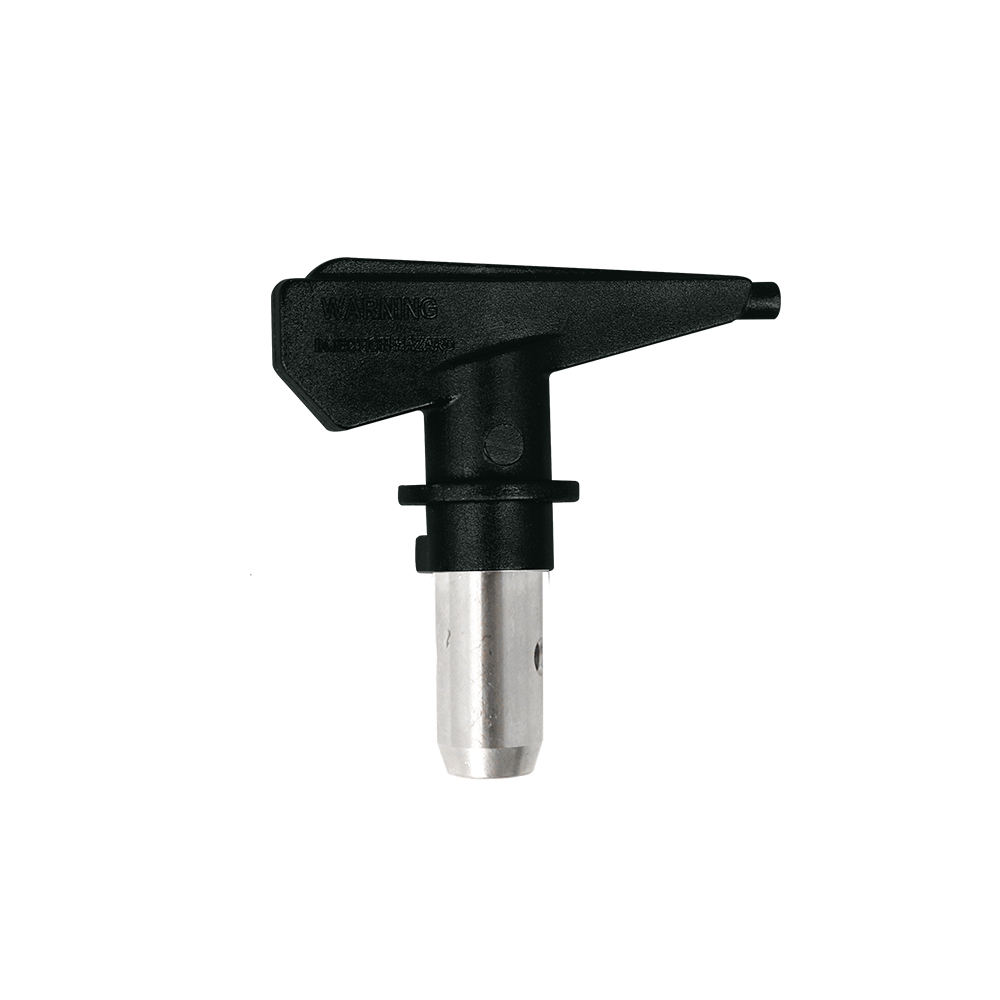
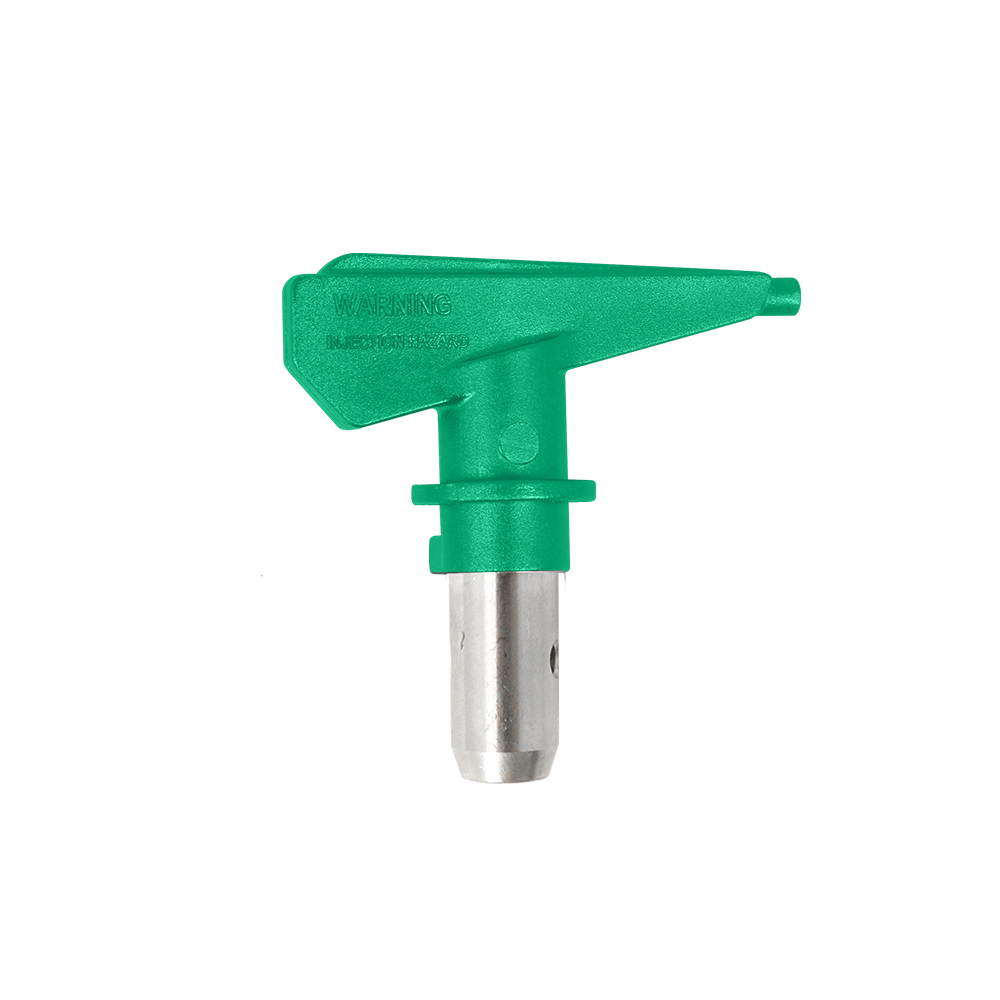
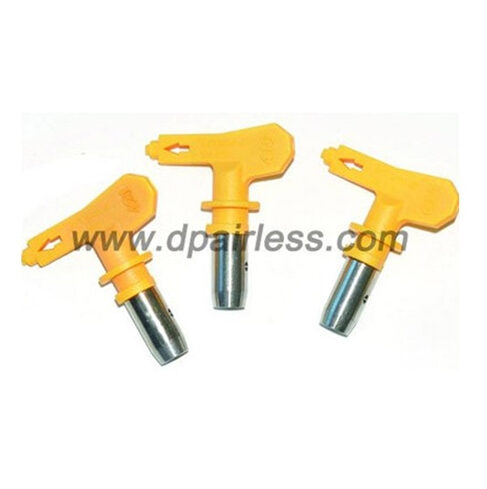

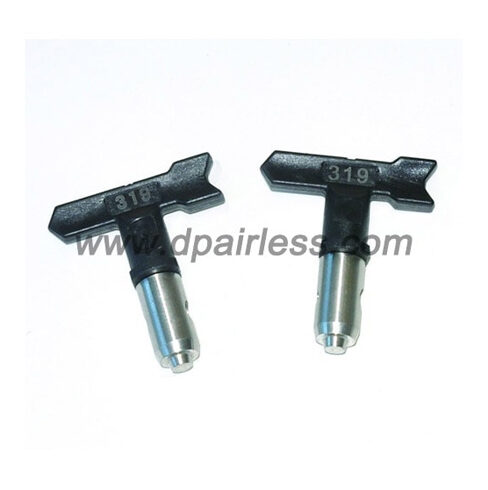
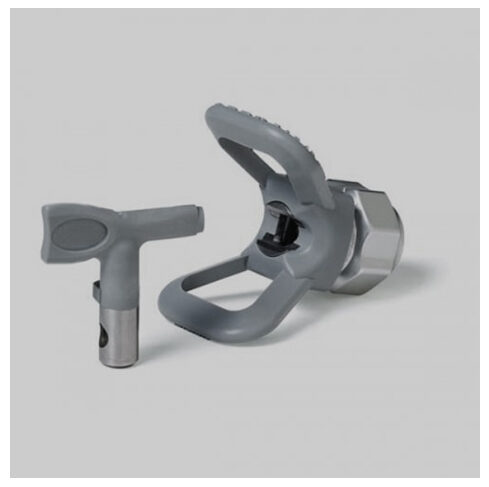
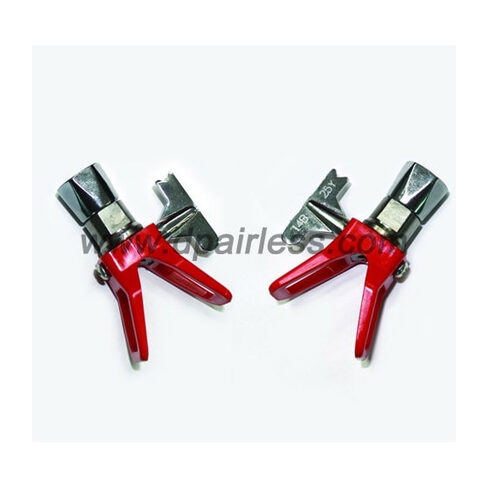
Airless spray tips are the most critical consumable part of your system, determining finish quality, speed, and material efficiency. we have below different types of spray tips for different application:
Main Types & Differences
| Type | Key Feature | Primary Use |
|---|---|---|
| Standard Tip (11.1mm DP-637T &
11.4mm DP-637TX) |
Most common. Reversible for quick clog clearing. Simple, reliable. | General painting: Walls, siding, decks, fences. (All-purpose workhorse) |
| Fine Finish Tip
(DP-637FF) |
Features a precision-machined, longer orifice and often a polished finish. | Smooth finishes: Cabinets, furniture, doors, trim. Produces a finer fan with less texture. |
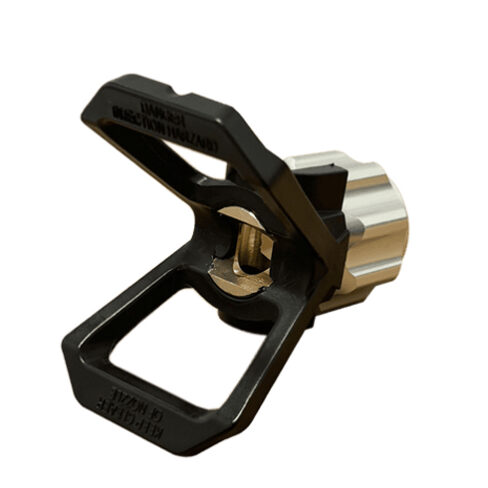
| Heavy-Build XHD | Has an screwing tungsten carbide which can bear max.500bar 7250psi extreme high pressure |
|
| Line Striping Tip | Fan pattern optimized for a sharp, defined line. (2000-4000 PSI) | Pavement marking: Water-based/Acrylic paints & Hot Thermoplastic (requires heated version). |
| Low Pressure Tip | Larger pre-orifice & expansion chamber; reduces fluid pressure at the tip by 40%. (Operates at 1400-1600 PSI effective spray pressure) | Reduces bounce-back and blow-through. |
Main Difference: It’s all about orifice design and internal geometry. Standard tips offer a balance; Fine Finish tips refine atomization; Heavy-Build tips maximize flow of viscous material; Low pressure tips reduce the bounce-back; Wide Fan tips prioritize coverage.
This guide matches tip orifice size to common coating types. Always confirm with the airless sprayer data sheet.
| Orifice Size (inch) | Material Viscosity | Specific Coating Examples & Applications |
|---|---|---|
| .009″ – .011″ | Very Thin, Low-Viscosity | Penetrating stains (wood), clear sealers, lacquers, water-based dyes, some light-bodied primers, light oil finishes. |
| .013″ – .015″ | Thin to Medium | Most oil-based & alkyd paints, floor enamels, rust-preventive primers, deck stains, varnishes, acrylic lacquers, aircraft coatings. (A .015″ tip is a versatile starting point). |
| .017″ – .019″ | Medium (Standard) | Most common for latex/water-based paints (interior & exterior), paint & primer in one, chalk-style paints, DTM (Direct-to-Metal) acrylics, epoxy primers, general-purpose enamels. |
| .021″ – .023″ | Medium-Thick to Thick | Heavy-body latex, elastomeric wall/roof coatings, textured paints, block fillers, high-build primers, Zinc-rich primers, thick-bodied stains. |
| .025″ – .027″ | Thick to Very Thick | Intumescent fireproofing paints, spray-applied fireproofing (SFRM) slurries, cementitious waterproofing, heavy mastics, trowel-grade coatings (thinned for spray), epoxy mortar coatings. |
| .031″ and larger | Extremely Thick / Paste-like | Pure elastomeric membranes, high-solids mastics, certain sprayable grouts, thick roof patch compounds, abrasive-filled industrial linings. (Requires Heavy-Build or XHD tip). |
Key Selection Notes:
-
Material Temperature Matters: Cold material is thicker. A coating that sprays well at 70°F with a .019″ tip may require a .021″ or .023″ tip at 50°F.
-
Desired Film Build: For a higher film build in a single pass, use a larger orifice size within the recommended range. For a thinner, finer coat, use a smaller orifice.
-
Pump Pressure Capability: Ensure your sprayer can generate enough pressure to properly atomize the material through your chosen orifice. Thicker materials through larger orifices require higher pressure.
-
Tip Wear: Abrasive materials (e.g., zinc-rich primers, textured coatings) will enlarge the orifice over time, effectively changing its size. Inspect and replace tips from the same category more frequently when using such materials.
Knowing when to change your tip is crucial for finish quality, efficiency, and safety. A worn tip wastes material and creates extra work. Replace it when you observe any of these signs:
Clear Visual & Performance Signs
| Sign | What to Look For | Consequence |
|---|---|---|
| 1. Streaky, Uneven Fan Pattern | The spray fan is no longer a uniform, rectangular “football” shape. It may have heavy ends (dog-boning), a split fan, or weak, uneven density. | Causes an uneven coat, streaks, and poor coverage, requiring more passes. |
| 2. Excessive “Tails” or “Fingers” | The edges of the fan pattern develop long, heavy streams instead of a fine, misty edge. | Creates runs and sags, especially at the edges of each stroke. |
| 3. Increased Overspray & Fogging | Noticeably more fine mist in the air around the spray fan. | Wastes material, creates a mess, and poses a greater health/safety hazard. |
| 4. Orifice Damage or Wear | Visual inspection reveals a nicked, oval-shaped, or ragged orifice (use a magnifying glass). A perfectly round, sharp edge is essential. | Impossible to achieve a clean, professional finish. Atomization is poor. |
| 5. Inability to Maintain Pressure | You must constantly increase the pump pressure to achieve the same fan width and atomization you used to get at a lower setting. | Strains the pump, reduces efficiency, and is a clear sign of orifice erosion. |
| 6. Persistent Clogging | The same tip clogs frequently with properly filtered and mixed material. This can indicate internal wear or damage that disrupts smooth flow. | Constant stoppages ruin productivity and can be a symptom of a failing tip. |


Because the airless spraying has insufficient Pump Pressure
-
Cause: Pressure is set too low for the tip size and material viscosity.
-
Why it Happens: The pump cannot provide enough pressure to properly atomize the paint as it passes through the tip orifice. Instead of forming a fine, misty fan, the paint “dribbles” or “splatters” out, creating heavy, unatomized streams (tails) or a split pattern.
-
Fix: Gradually increase the pump pressure while testing the fan pattern on a piece of cardboard. Stop when the fan becomes a full, uniform rectangle with fine, misty edges. Do not exceed the maximum recommended pressure for your equipment.
- if the pressure is already the maximum pressure which the pump can support, then you can change to a smaller tip size than your current using tip size.
Or
2.The Spray Tip isWorn or Damaged
-
Cause: The orifice (the tiny hole) is worn unevenly, nicked, or has become oval-shaped from abrasion or accidental damage (e.g., cleaning with a metal object, hitting the surface).
-
Why it Happens: The damaged orifice disrupts the smooth, high-pressure flow of paint, causing it to exit unevenly and form heavy streams (“tails”) on the sides or split the fan entirely.
-
Fix: IMMEDIATELY replace the spray tip. This is the #1 fix. Inspect the old tip under magnification to see the damage.
3. Dirty or Partially Clogged Tip, Filter, or Packing
-
Cause: A small piece of dried paint, skin, or debris is lodged in the tip orifice, in the gun filter, or even in the fluid path.
-
Why it Happens: The obstruction partially blocks the flow, preventing uniform pressure distribution across the orifice. This can deflect the stream or cause paint to flow more heavily to one side, creating tails.
-
Fix:
-
Safely clear the tip using the reverse function or clean it with an appropriate brush/solvent.
-
Check and clean the gun filter and inlet filter.
-
Ensure all material is properly strained before use.
-
4. Using the Wrong Tip Size for the Material
-
Cause: The orifice is too small for the viscosity (thickness) of the paint.
-
Why it Happens: Thick material through a small orifice creates extreme resistance. Even at seemingly high pump settings, the effective pressure at the tip orifice may still be insufficient for proper atomization.
-
Fix: Switch to a larger orifice tip (e.g., move from a .013″ to a .015″ or .017″) as recommended for your specific paint. For cold material, warm it to the recommended application temperature if possible.
5. Worn or Failing Pump Components
-
Cause: Worn piston packings, valves, or seals are causing the pump to lose prime, suck air, or fail to generate and maintain rated pressure.
-
Why it Happens: The pump cannot deliver a consistent, powerful stream of fluid to the tip, resulting in weak, pulsating, or poorly atomized output.
-
Fix: This is a mechanical issue. If a new tip and increased pressure don’t solve it, inspect the pump for leaks, worn parts, and air intake. Professional servicing may be required.
A clogged tip is a common interruption. Cleaning it correctly is critical for both safety and protecting your expensive tip from damage. Follow these professional steps.
Step 1: The Easiest First Fix (Reverse Clean-Out Function)
All our airless spray gun or tip has a “Reverse for Cleaning” feature:
-
Keep the gun pointed into the waste bucket.
-
Engage the reverse function. This is usually done by rotating the tip handle 180 degrees or flipping a lever.
-
Squeeze the trigger for 1-2 seconds. Fluid will blast backwards through the tip orifice, dislodging most soft clogs.
-
Return the tip to the forward position and test the spray pattern.
Step 2: Manual Removal & Cleaning (If Reverse Doesn’t Work)
If the clog persists or your tip lacks a reverse feature:
-
Remove the Tip: Use the correct wrench or your hand (pressure must be zero!) to unscrew the tip from the gun.
-
Soak the Tip: Submerge the tip in the appropriate cleaner/solvent (water for latex, mineral spirits for oil-based, acetone or manufacturer-recommended solvent for others).
-
Clear the Orifice with SOFT Tools:
-
Best Practice: Use the nylon brush provided in the package. These are softer than the tip material.
-
Improvised Tool: A stiff bristle from a natural-bristle brush or a wooden toothpick can work in a pinch.
-
【NEVER, EVER】****DO NOT use steel pins, paper clips, nails, or any hard metal object. These will permanently scratch and ruin the precision orifice (made of tungsten carbide or hardened steel), making the tip unusable. A scratched tip will never produce a clean fan again.
-
Step 4: Deep Cleaning & Inspection
-
Clean the Tip Guard & Filter: After removing the tip, check and clean the gun filter (if equipped) and the tip holder seat for any debris.
-
Ultrasonic Cleaner (For Stubborn Clogs): For a studio or frequent use, a small ultrasonic cleaner with solvent is highly effective for deep cleaning disassembled tips.
-
Inspect: Hold the cleaned tip up to a light. The orifice should be perfectly round, undamaged, and completely clear.
Step 5: Reassemble & Test
-
Apply a small amount of pump protector or sprayer grease (not ordinary grease) to the tip seals before reinstalling.
-
Reinstall the tip and filter.
-
Place the gun in a container of clean solvent and run the sprayer at right pressure to test for a perfect, even fan pattern.
-
Always Strain Material: Use a paint strainer (30-60 mesh) for every gallon of paint before it enters the pump. This is the #1 preventive measure.
-
Never Let the Gun Sit Idle: If you pause for more than 1-2 minutes, place the gun in solvent or keep fluid circulating at low pressure.
-
Flush the System Thoroughly: At the end of each day, flush the entire system with cleaner until the discharge runs clear.
-
Store Tips Properly: After cleaning, store tips submerged in a small jar of solvent or coated in pump protector fluid.
- Normally our DP airless paint sprayers have 3 filtering structure, first is the suction filter in the end of suction tube, 2# is the pump manifold filter in the filter housing, and 3rd is inside the airless spray gun.
- Make sure all these 3 filters are clean inside, so you need to remove out and clean the filters very often. if the paint get dried inside the filter, it will goes to the spray tips easily under the high pressure fluid.

